
Introduction
At Minghe, we’ve helped thousands of engineers and buyers who all face the same challenge: reduce CNC machining costs—without compromising the performance or reliability of their parts. In high-mix, low-volume environments, this balance is especially important.
Over the years, we’ve found that cost savings don’t come from shortcuts—they come from smarter decisions at every stage of the process. From initial design and material selection to machining strategy and vendor collaboration, every step offers opportunities to optimize.
In this article, we’ll walk you through the exact methods we use at Minghe to help reduce costs—without cutting corners.
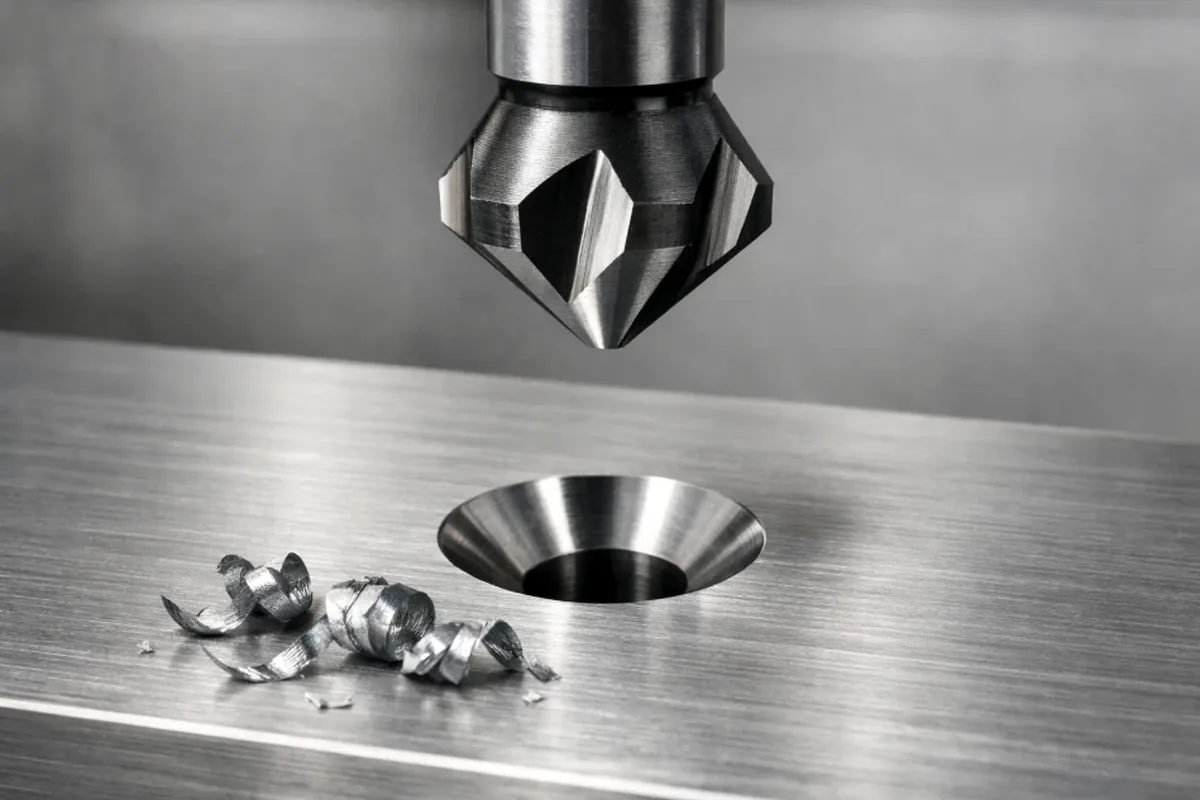
Optimize Part Design for Manufacturability
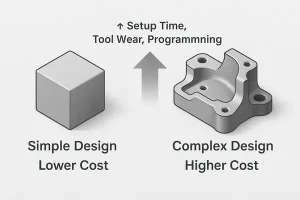
This diagram compares simple and complex part designs, highlighting how geometry affects machining costs.
From our experience, the fastest way to reduce CNC machining costs is by simplifying the part itself. Complex features drive up programming time, machine setup, and tool wear—especially in low- to mid-volume runs.
Here are a few proven design practices we recommend to our clients:
- Use generous internal radii
Sharp corners inside pockets require small-diameter tools, which cut slower and are more prone to breaking. Instead, match internal corners to standard tool sizes—this makes toolpaths smoother and reduces machining time. - Keep wall thickness consistent
Thin walls can flex or vibrate under cutting loads, which may lead to chatter, poor surface finish, or even part failure. Uniform, moderate wall thickness makes machining more stable and reduces scrap rates. - Stick to standard hole and thread sizes
Using non-standard diameters or thread types often means slower tool changes or custom tooling. Wherever possible, use common drill sizes (e.g., Ø6mm, Ø10mm) and thread types (e.g., M6, UNC ¼”) to simplify machining and reduce costs. - Limit decorative or cosmetic features
Engraved logos, text, or patterns might look great—but they also require extra programming and tool changes. If branding is necessary, consider laser marking after machining instead. - Design for easy tool access
The more faces a part needs to be machined from, the more setups are required. Try to place as many critical features as possible on accessible faces—ideally machined in a single setup. - Avoid deep, narrow cavities
Features with high depth-to-width ratios slow down machining and increase the chance of tool deflection. If deep cuts are essential, widen the opening or break the part into separate components. - Prefer chamfers over tight fillets
Chamfers are faster to cut with standard tooling. Tight fillets often need smaller tools and slower passes. Unless required for strength or mating, chamfers are the more cost-efficient option. - Size your part to fit standard stock
Designing parts to match standard bar, plate, or extrusion sizes minimizes material waste and roughing time. For example, designing a 49 mm part instead of 51 mm may let it fit a standard 50 mm bar.
Quick Design Checklist:
- Are inside corners sized to match standard tools?
- Any thin walls under ~1.5× tool diameter?
- Can most features be machined in one orientation?
- Are holes and threads based on standard sizes?
- Any cosmetic cuts that could be skipped or done post-machining?
Good design isn’t just about performance—it’s also about how efficiently a part can be made. And small tweaks at the CAD stage can lead to big savings on the shop floor.
Select Cost-Effective Materials
Choosing the right material isn’t just about performance—it plays a major role in both machining time and overall production cost. At Minghe, we often help clients save up to 30% simply by switching to a more machinable or readily available alloy.
Here are key principles to guide material selection:
- Prioritize machinability
Some metals are far easier to cut than others. Aluminum alloys like 6061 or 7075, and free-machining brass or mild steel, allow faster feeds and longer tool life. In contrast, stainless steel, titanium, and hardened steels tend to wear out tools quickly and slow down production. - Don’t over-specify
Unless your part demands exceptional corrosion resistance or high strength, you may not need that premium-grade material. For example, switching from 304 to 303 stainless can significantly reduce cycle time without major performance trade-offs. - Check availability and stock formats
Some specialty alloys or oversized blanks come with long lead times or minimum order quantities. Whenever possible, size your part to fit within standard bar, plate, or extrusion sizes—this reduces both raw material waste and sourcing headaches. - Think beyond raw cost per kilogram
Aluminum may be more expensive than mild steel per kg, but it’s usually much faster to machine. In many cases, the time saved offsets the higher material cost—especially for high-volume parts. - Ask your supplier for recommendations
Machine shops often know what materials they can process most efficiently. We’ve helped customers cut costs by identifying substitute materials that perform just as well but machine faster or finish better.
Material Cost vs Machinability Comparison:
| Material | Machinability | Cost Level | Notes |
|---|---|---|---|
| Aluminum 6061 | Excellent | Low | Fast to machine, ideal for prototypes and housings |
| Brass C360 | Excellent | Medium | Cuts like butter, but raw cost is higher |
| Mild Steel 1018 | Good | Low | Reliable and versatile for structural parts |
| Stainless 303 | Fair | Medium | Better machinability than 304 |
| Stainless 304 | Poor | High | Work hardens quickly, slower machining |
| Titanium Ti-6Al-4V | Very Poor | Very High | Requires special tooling and setup |

This chart ranks materials such as aluminum, brass, stainless steel, and titanium by their CNC machinability.
The best material is the one that strikes the right balance between performance, availability, and ease of machining. Making the right choice early can significantly reduce cost—without affecting end-use quality.
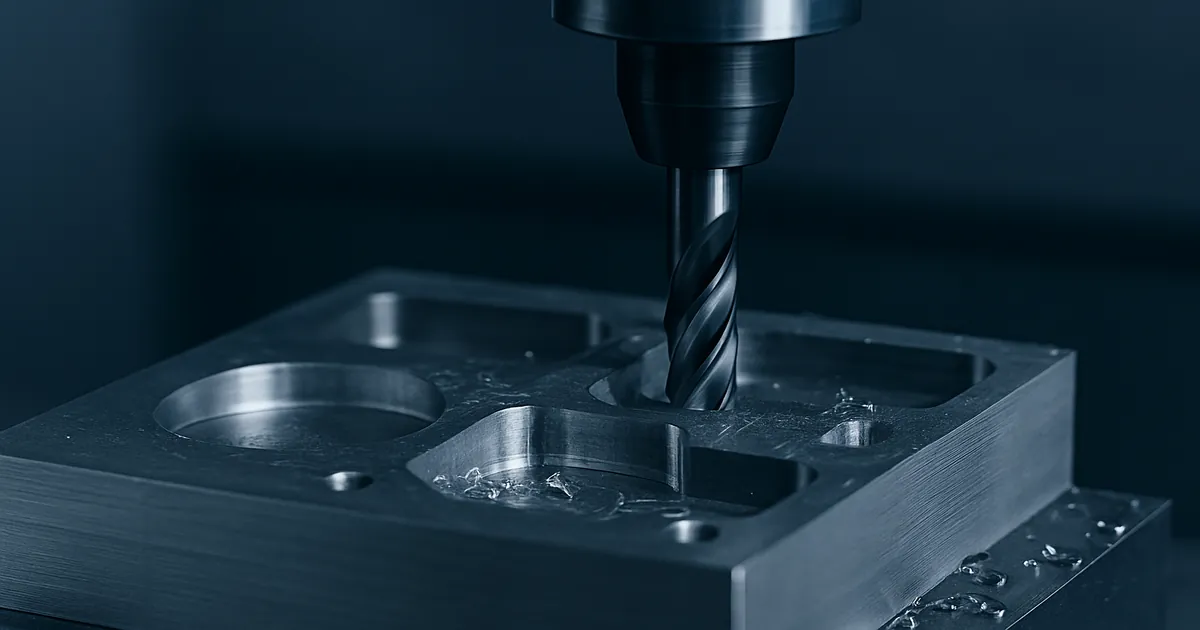
Use Standard Tolerances Where Possible
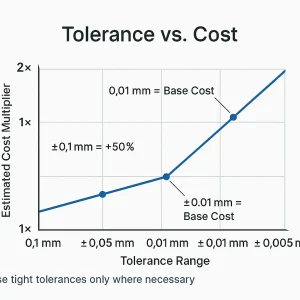
This graph illustrates the exponential rise in machining costs as dimensional tolerances become more precise.
One of the biggest cost drivers in CNC machining is tight tolerances. While high precision is essential for some parts, many designs include tolerances that are tighter than necessary—often out of habit or caution.
Here’s how to optimize tolerances for cost efficiency:
- Be intentional with tolerances
Not every hole or surface needs to be held to ±0.01 mm. For non-critical features, looser tolerances—like ±0.1 mm or even ±0.2 mm—can speed up production, reduce tool wear, and improve yield. - Follow international standards
Sticking to ISO or ANSI standard fits ensures that shops can use proven inspection methods and standard gauges. It also makes your parts easier to remake or reproduce across suppliers. - Keep cosmetic features relaxed
A logo, edge, or external face that doesn’t mate with other components doesn’t need a tight tolerance. We often see projects where decorative surfaces are over-toleranced, adding unnecessary cost. - Avoid stacking tolerances
If multiple dimensions rely on each other to hold a total distance, even small errors can add up and lead to rework. In these cases, rethinking the design or adding adjustment slots might be a better solution. - Define tolerance zones clearly
Instead of over-defining every feature, use a general tolerance note in your drawing title block (e.g., “±0.1 mm unless otherwise specified”) and only apply tighter tolerances where they’re truly needed.
Estimated Cost Impact by Tolerance Range:
| Tolerance Range (Metric) | Cost Impact vs Baseline |
|---|---|
| ±0.10 mm | Baseline (Normal) |
| ±0.05 mm | +10–20% |
| ±0.01 mm | +30–50% |
| ±0.005 mm or tighter | +70–100%+ |
Pro Tip: Ask your supplier what tolerances they can hold “naturally” on their machines. Designing around these capabilities avoids special setups, slows, or inspections that add hidden cost.
Tolerancing is a powerful tool—but like all tools, it should be used with purpose.
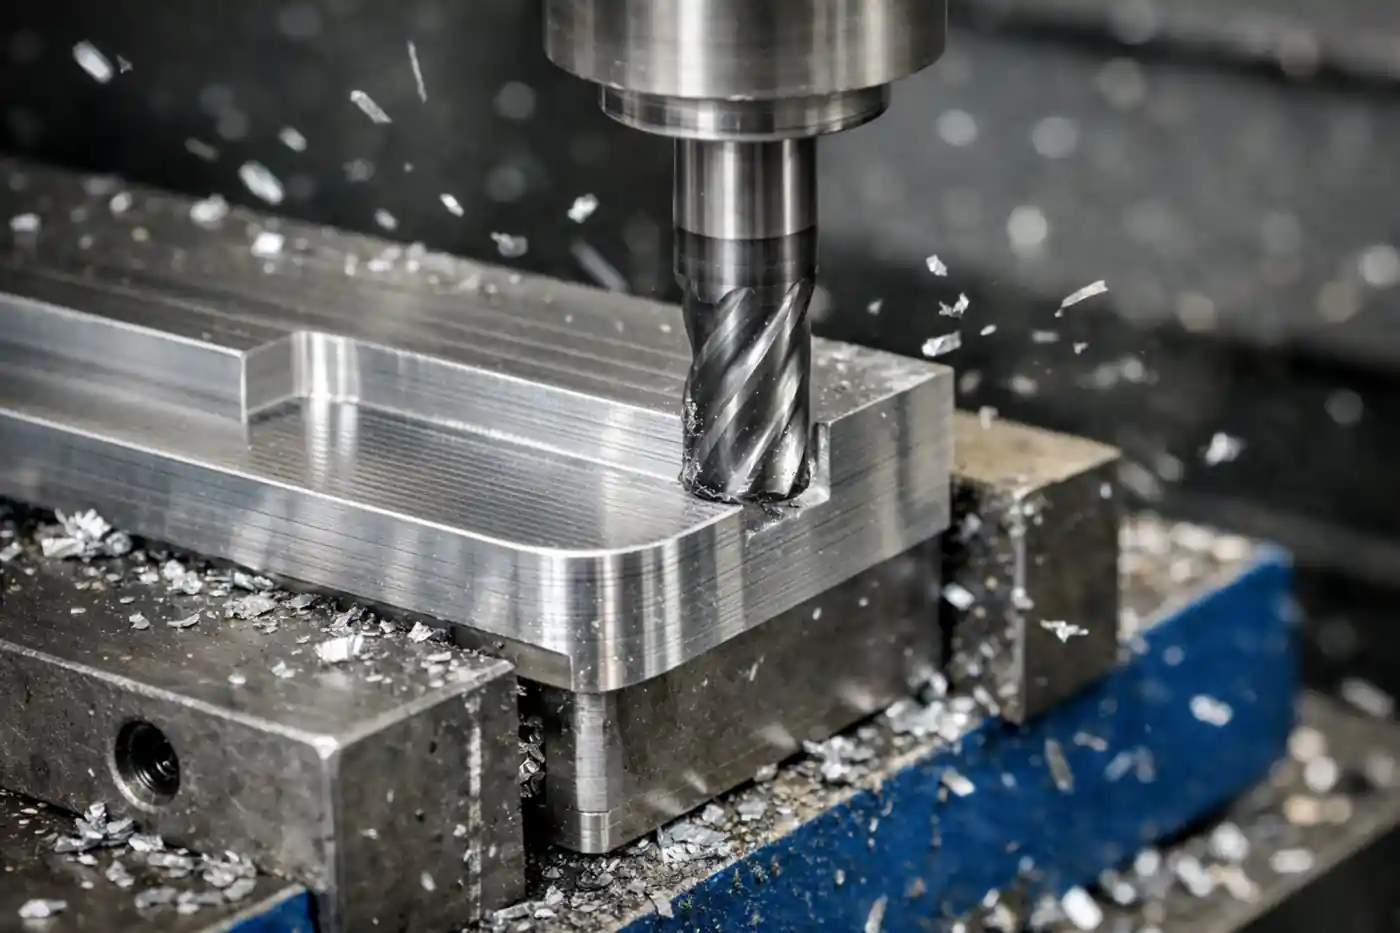
Minimize Setup and Tool Changes
In CNC machining, time spent cutting isn’t the only factor affecting cost—setup and tool changes can quietly add hours to production, especially across multiple parts or small batches.
Here’s how to reduce cost by minimizing setups:
- Reduce the number of setups
Every time a part needs to be flipped or re-oriented, the machine must stop, an operator must reposition it, and alignment must be verified. That’s all time you’re paying for. Design your part so as many features as possible can be machined in a single setup. - Consolidate features on accessible faces
We often help customers rework designs that require three or four separate machining orientations. By reorganizing features or adjusting geometry, many of those can be brought onto a single face—saving hours per run. - Standardize tooling
If your part requires 15 different tool diameters, expect higher programming and setup times. Where possible, design features that can be cut with standard end mills, drill sizes, and thread types already in stock at most shops. - Avoid features that require specialty tools
Deep keyways, undercuts, or tight-radius pockets often require expensive custom tooling or additional passes. If a design can achieve the same function with simpler geometry, it’s almost always cheaper. - Batch similar parts together
If you’re producing a family of parts, standardize as much as possible across them—like hole sizes, slot widths, and surface finishes. This allows reuse of the same toolpaths and setups, minimizing changeovers. - Invest in quick-change fixturing
For high-volume or repeat orders, quick-change fixtures or soft jaws can dramatically reduce part loading time. While there’s some upfront cost, the savings over long runs often pay for themselves quickly.
Efficiency Tip: If your supplier uses 5-axis machining, ask how your part could be redesigned to take full advantage of that. We’ve seen cases where a two-setup part became a one-pass job—cutting labor time in half.
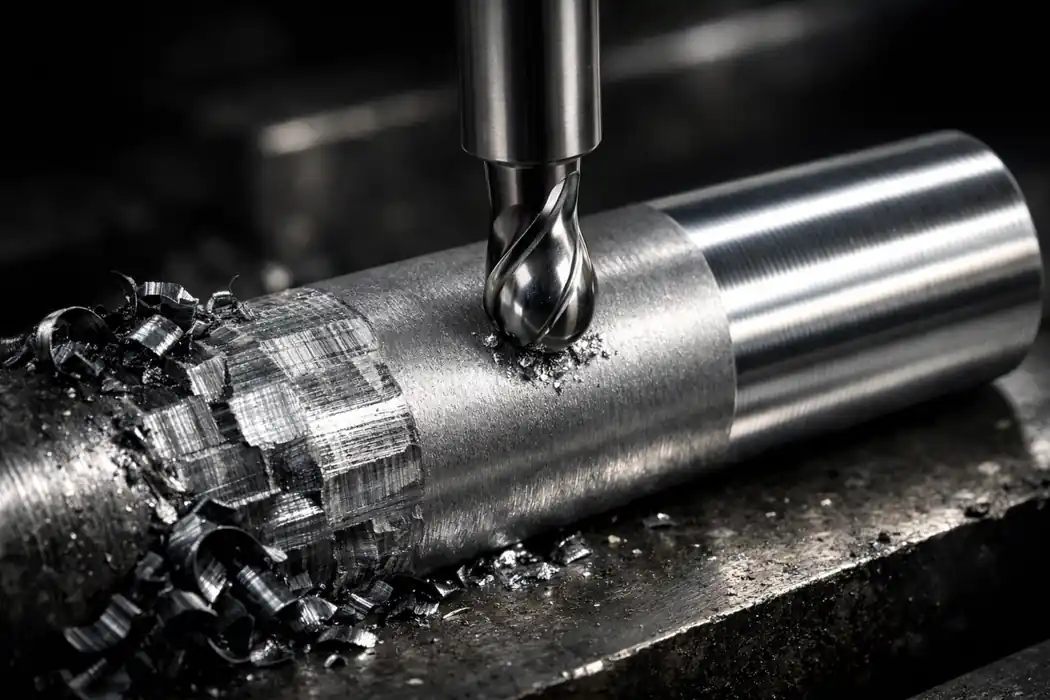
Design for Batch Production
CNC machining becomes significantly more efficient when parts are designed with repeatability in mind. While prototyping allows for more flexibility, production-scale jobs demand consistency and speed—both of which can be influenced directly by design.
Here’s how to optimize your parts for batch production:
- Design for stable, repeatable fixturing
Irregular shapes, round bases, or difficult-to-clamp geometries often slow down batch workflows. Parts that sit flat and can be aligned quickly are ideal for mass production. If needed, add reference edges or alignment features directly into the design. - Leverage symmetry
Symmetrical parts can often be machined in mirrored orientations using the same fixture. This cuts down the number of custom setups required and allows operators to process left- and right-hand parts without reprogramming. - Consider multi-part machining
If your part is small, you may be able to nest multiple units in a single setup. We regularly design fixtures that hold 2, 4, or even 10 parts at once—allowing one cycle to produce multiple finished components. - Use tabs or connection features for handling
When machining thin parts or those made of soft material, adding small tabs between components or onto a holding frame can make handling and finishing easier. These can be removed later with minimal secondary work. - Standardize features across product families
If you’re producing several related parts, unify details like hole patterns, slot widths, or thread sizes. This lets the shop reuse toolpaths and fixtures across runs—cutting down programming time and cost. - Anticipate tool wear and material variation
In long runs, even small differences in raw material hardness or chip buildup can impact tolerances. Avoid borderline-thin walls or over-tight fits that may fail halfway through a production batch.
Production Tip: Let your supplier know your expected annual volume. If you’re planning multiple orders over time, they may be able to amortize fixture costs and offer better per-part pricing.
Consider Post-Processing Costs
It’s easy to overlook the time and cost added after machining is complete—but post-processing steps like finishing, coating, and deburring can make up a surprising portion of the total part cost.
Here’s how to keep those costs under control:
- Don’t over-finish what doesn’t need it
We often see parts specified with fine surface finishes (e.g., Ra 1.6 µm or better) on all faces—even internal or hidden ones. If a surface won’t be seen or touched, or doesn’t impact assembly, consider a rougher but acceptable finish. - Minimize cosmetic requirements
Machined textures, polished faces, or bead blasting may look great—but every added finish means added time and cost. Be strategic about where appearance matters. For branding, a simple laser mark post-machining is usually far more cost-effective than engraving. - Combine finishing steps when possible
If a part needs anodizing and laser marking, plan for them to be done in sequence without additional setups. Designing flat surfaces for marking or including alignment features can speed up this process. - Avoid complicated masking needs
If a coating requires masking specific areas (like threads or contact surfaces), that usually involves manual labor. Whenever possible, design your part so that masked and coated regions are naturally separated—e.g., by elevation or orientation. - Consider edge breaks and burrs
Sharp internal edges often require hand-deburring, which adds labor time. Instead, include chamfers or radii where appropriate to allow machine-based deburring or reduce the need for post-op cleanup. - Communicate clearly with your supplier
Vague specs like “smooth finish” or “light polish” leave room for interpretation—and over-processing. Instead, specify a surface roughness range (e.g., Ra 3.2 µm max), coating type, and required visual quality level.
Finishing Tip: If you’re unsure which coating or finish is best for your application, ask your supplier for samples or photos. A 10-minute discussion can often eliminate costly guesswork.
Collaborate with Your Machining Supplier Early
Some of the most effective cost-saving opportunities happen before a single chip is cut. Involving your CNC supplier early—during the design phase—can help you avoid expensive mistakes and uncover simpler ways to manufacture your part.
- Use DFM feedback to avoid over-complication
We’ve seen countless cases where small tweaks to a pocket depth, thread size, or tolerance saved hours of machining. Sharing a model early lets your supplier spot these issues before they become problems. - Ask about material recommendations
Your shop likely has material preferences based on what they stock, what machines well, or what fits their process best. Sometimes switching from 304 stainless to 303, or from cold-rolled to hot-rolled steel, makes a meaningful difference in cost and lead time. - Understand their machine capabilities
Not all shops run 5-axis equipment, have ultra-high precision spindles, or specialize in certain alloys. Ask what their typical setup looks like—then align your design with their strengths. - Share volumes and future needs
We can often justify fixture investments, program optimization, or bulk pricing if we know a part is going into production. A design that’s great for one-off prototyping might not scale well—unless that’s factored in early. - Keep communication open
The best machining projects happen when both sides are aligned. When we understand the function of a part—not just the geometry—we can suggest better manufacturing options. For example, turning a complex cavity into two simpler parts bolted together can sometimes cut machining time in half.
Real-World Tip: Don’t wait for the final drawing. A quick screen share or STEP file sent mid-design often leads to better outcomes than last-minute RFQs with locked geometry.
Conclusion
Reducing CNC machining costs isn’t about cutting corners—it’s about making smarter decisions from the very beginning. From refining part geometry and choosing the right materials to simplifying setups and aligning with your supplier’s capabilities, there are opportunities at every step to save time and money.
At Minghe, we’ve helped thousands of engineers optimize their parts for production—without sacrificing quality, durability, or lead time. Whether you’re developing a prototype or preparing for large-batch manufacturing, we’re here to help you make your designs more efficient and cost-effective.
Ready to reduce machining costs without compromising quality?
📩 Contact us now for a free DFM review and competitive quote